Every upscaler’s sample gallery shows the same miracle: a blurry crop turning crisp. Then you run your own photo through it and the result is… bigger. Maybe better? It’s four times the pixels and it looks about the same, or slightly softer, and you can’t tell if the tool did anything beyond resizing. You’re not imagining that. Half the “AI enhance” products out there deliver something a plain resize would have done for free.
The test for telling them apart takes about ten seconds. It just has to be set up fairly, and fair is the part people get wrong.
Three different things called “upscaling”
It helps to know what could be happening under the hood, because the failure looks different for each.
Plain interpolation (bicubic, Lanczos, what Photoshop does when you resize) fills the new pixels by averaging the old ones. Nothing is added. The image gets bigger and every edge gets a little softer. Free, instant, and fine when you just need dimensions.
Restoration-style AI models are trained on pairs of sharp and degraded images, and they push your image toward what the sharp version of it plausibly looked like. Edges tighten, texture comes back, text can become readable again. This is real added detail, with a catch we’ll get to.
And then there’s the marketing tier: tools that interpolate, run a sharpening filter, and call it AI. This is the tier the slider test exists to catch.
The fair test
The mistake everyone makes is comparing the small original against the big output directly. Scaled to fit the same screen space, the bigger image wins by default, sharp or not, because it’s simply rendering with more pixels per inch of your monitor. That comparison flatters every upscaler including the useless ones.
Match the sizes first:
- Keep your original file.
- Run the upscale.
- Now make a control: resize the original up to the same dimensions with plain bicubic, any editor can do it. (Downscaling the AI output back to the original size works too, but upscaling the control is the version that shows you what “free” looks like.)
- Put the bicubic control and the AI output under a before and after slider, aligned, same dimensions.
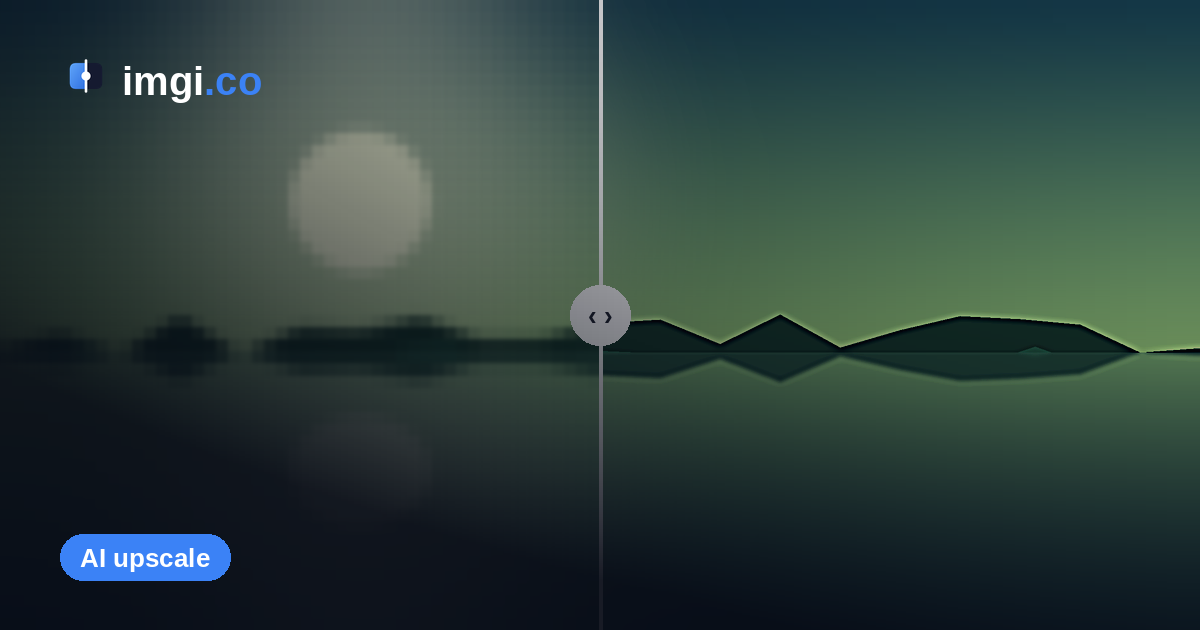
Whatever survives that comparison is what the tool actually added. Here’s the test running on a real example, plain bicubic on the left, real reconstruction on the right. Drag it:
Once you’ve seen the gap under a slider you can’t unsee it. The soft side just doesn’t contain the information the sharp side does.
Where to look
Don’t stare at the middle of the frame. Detail dies in specific places, so go there:
- Text, always text first. Signs, labels, license plates. Interpolation turns letters into pudding; real reconstruction makes them legible.
- Hair, fur, and eyelashes.
- Foliage and grass, which weak models smear into green noise.
- Fabric weave, skin pores, brick and roof textures.
- Hard edges against sky, where sharpening halos show up as a bright rim.
Drag the handle slowly across one of those zones and hold it half-open on the boundary. Differences too subtle for side-by-side viewing pop immediately when the two versions swap in the same pixels.
Added detail is not the same as true detail
The caveat the marketing never mentions: a restoration model doesn’t recover the original scene, it invents a plausible one. For textures, landscapes, and game art, invented is usually fine, the roof tiles just need to look like roof tiles. For faces it gets weird fast: run a low-res photo of a person through a strong model and you can get a sharp portrait of someone slightly else. Eyes drift, moles vanish, bone structure shifts a millimeter. If the image is evidence of anything (a document, a product defect, a person’s identity), an upscale is decoration, not information.
The slider catches this too, by the way. Flip between original-upscaled-back and the AI output at matched size and hallucinated features stand out exactly the way added sharpness does. For a receipt harder than eyeballing, run the control and the AI output through a pixel-level difference check: regions the model changed light up, and flat areas that light up anyway are pure invention.
Comparing upscalers against each other
Once a tool passes the “better than bicubic” bar, the next question is which tool, or which model and setting. Same method, more contenders: one imgi comparison holds up to ten images, so original, bicubic control, and several model outputs can sit in a single slider with a dropdown to pick which pair you’re inspecting. Label each side with the model name and settings, because “output (3).png” stops meaning anything within the hour.
Two rules keep the shootout fair. Feed every model the same source file, not a re-export. And keep everything PNG through the whole pipeline; a JPEG save quietly adds its own smearing, and then you’re comparing compression artifacts instead of models. imgi serves your exact uploaded bytes, no re-encoding, so the pipeline stays clean after upload. For files you’d rather not upload at all, offline mode runs the same slider entirely in your browser.
So which tools pass?
Deliberately no leaderboard here, because the answer swings hard with your content. The established names are established for a reason: Topaz Gigapixel on the commercial side and the Real-ESRGAN family on the open-source side are built for actual reconstruction, and both routinely clear the bicubic bar. But a model that’s spectacular on anime line art can be mediocre on a dim photo of a dog, and vice versa. Whatever a review said, it was measured on someone else’s images. The test above costs ten seconds and runs on yours, which makes it worth more than any ranking, including one from this site.
Ten seconds well spent
That’s the whole method: match the sizes, build a bicubic control, slide across the places where detail actually lives, and stay suspicious of new faces. Your upscaler either survives that or it doesn’t, and either way you stop paying (in money or minutes) for a fancy resize.
If the tool you’re checking turns out to be one of the good ones, the same comparison doubles as your receipt: publish it and drop the link the next time someone claims all upscalers are snake oil. For screenshots and rendering arguments, the DLSS, FSR, and TAA guide applies the same discipline to in-game upscaling, and the two-image slider guide covers the general workflow.