Scroll through the gallery on almost any ReShade preset page and you’ll find twelve spectacular after shots and, buried at the end, one vanilla screenshot taken somewhere else entirely. Different spot, different weather, probably a different time of day too. As a showcase it looks great. As evidence it proves nothing, and the people deciding whether your preset is worth installing know it.
The fix costs you one config setting and about a minute of uploading. ReShade will capture the before and the after of the exact same frame for you, and a slider does the rest.
The setting most preset authors never find
A fair comparison needs the identical frame twice. The manual way is toggling your effects off, screenshotting, toggling back on, and shooting again, and by then a cloud has moved, the grass has swayed, and the camera has drifted two pixels because you breathed on the mouse.
ReShade has the answer built in: set SaveBeforeShot=1 in the [SCREENSHOT] section of ReShade.ini (newer builds expose the same thing in the overlay’s Settings tab). With it enabled, every press of the screenshot key, Print Screen unless you rebound it, writes two files instead of one: the frame with your whole shader stack applied, and the same frame untouched. Same frame, down to the pixel.
While you’re in that file, two more lines are worth setting:
FileFormat=1saves PNG instead of JPEG. JPEG compression smears film grain, dithering and fine sharpening, which is to say the exact things your preset adds. PNGs are bigger, but you’re uploading a handful of screenshots, not a video.SavePresetFile=1drops a copy of the current preset next to each screenshot. Three weeks later, when someone asks which version a comparison shows, the answer is sitting in the folder.
Capture like you mean it
Good comparison screenshots start with a frozen scene. A photo mode works, and so does any quiet interior. In Bethesda games the console does it in two commands: tfc 1 freezes time with a free camera, tm hides the HUD. A health bar sitting on top of your color grading helps nobody. One more trap: if Steam or the game itself also has a screenshot key on the same binding, unbind one of them, or you’ll come back with forty gallery shots and not a single before file.
Then pick scenes that test the preset instead of flattering it:
- One bright exterior, to catch clipped highlights
- One dim interior or night shot. Grading that looks cinematic at noon regularly falls apart in a dark cave, and night is where crushed blacks eat the detail
- Faces, if the game has them. A LUT that pushes skin toward orange gets noticed before anything else
And show the failure cases too. If your preset eats 15 fps or makes fog look strange, one honest comparison of that buys more trust than five sunsets. Players find out anyway; better they hear it from you.
One thing a still comparison can’t do: motion. Depth of field that breathes, motion blur, temporal grain, anything that only exists across frames won’t survive a screenshot. Say so in your description, or capture a short clip for those instead.
Side by side hides what a slider shows
Two screenshots pasted next to each other force the reader’s eyes to jump back and forth while their memory does the comparing, and memory is terrible at five percent saturation shifts. Subtle grading, the kind good presets are built on, reads as the same picture twice.
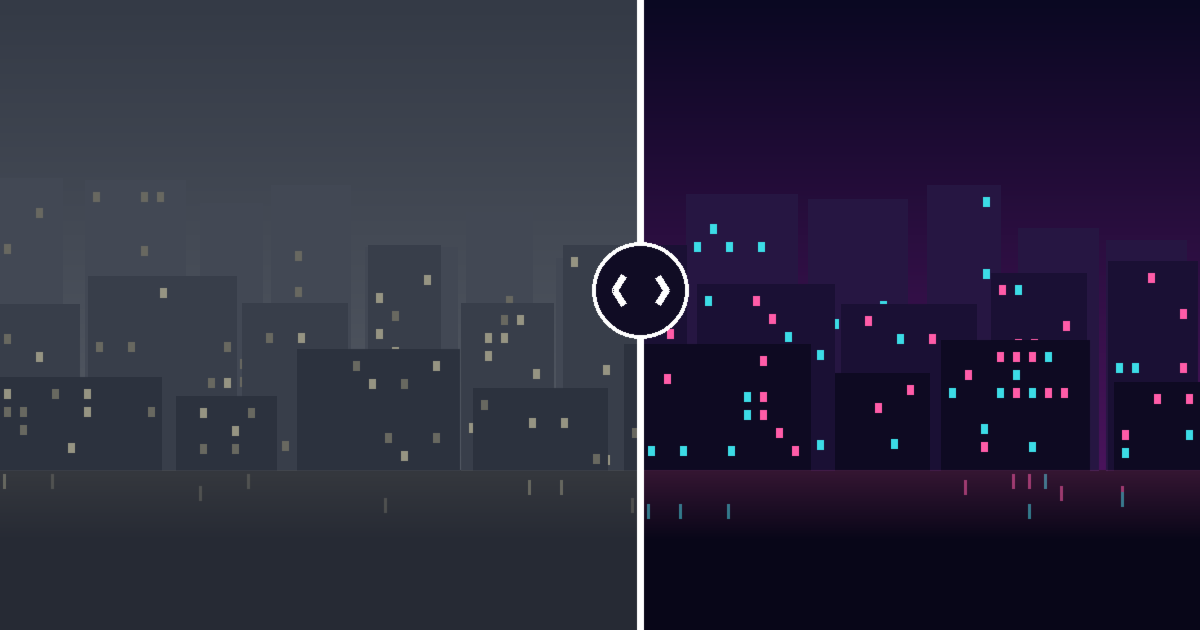
A before and after slider puts both versions in the same pixels and lets people drag the boundary themselves. Try it:
That one’s Shadows Reworked by Tewix, a shadow overhaul rather than a ReShade preset, but the principle carries. The screenshots belong to Immersive Character Lighting by lexo1000, a Baldur’s Gate 3 character lighting overhaul, and are used here with credit to the author.
Upload a pair at imgi.co and label the sides Vanilla and your preset’s name. It’s free without an account, the size cap (20 MB per image right now) sits far above any screenshot, and uploads aren’t recompressed, so the grain your preset adds survives the trip.
One link for the whole gallery
A preset page needs more than one comparison. Instead of pasting six separate links, put the pairs in an album: each comparison keeps its own labels, viewers flip through them under one link, and you can reorder or swap scenes later without touching your mod description. Nexus descriptions won’t take an iframe, so a link is what you’d post there anyway. On your own site you can embed the slider directly, and for Discord or anywhere that only shows images, a before and after GIF of the sweep does the job.
Comparing whole graphics pipelines rather than presets? The same capture discipline applies, and the PC graphics settings guide goes deeper there.
SaveBeforeShot gotchas nobody warns you about
Three things trip people up the first time. ReShade.ini lives next to the game’s executable, in the folder the ReShade DLL landed in during install, so if you run several games, each has its own copy and its own screenshot settings; setting it once does not set it everywhere. The before file saves alongside the regular shot with its own suffix; open one pair in an image viewer before you capture fifty more, because if your effects were toggled off when you pressed the key, both files are the same frame and the comparison shows nothing. And the doubled PNGs add up fast at 4K. A long capture session can quietly eat a few gigabytes, so point the screenshot folder at a drive with room and clean it out once the comparisons are published.
The checklist, since nobody remembers ini keys
SaveBeforeShot=1in ReShade.ini, or tick the before/after screenshot option in the overlay’s Settings tabFileFormat=1for PNG,SavePresetFile=1so every shot stays traceable- Freeze the scene, hide the HUD, shoot three to five scenes including at least one that’s hard on the preset
- Upload each pair, label them Vanilla and your preset name
- Group them into an album and paste one link on your mod page
Your after shots were never the problem. Give people the before, in the same frame, and let them drag.