Set shadows to Ultra and you lose maybe a dozen frames. Flip them back to High and, if you’re honest, you can’t tell what changed. That’s the whole problem with tuning a PC game. The cost of a setting lands instantly on your FPS counter, but the benefit is invisible unless you know exactly where to look.
Your eyes are bad at this, and not because you’re doing anything wrong. It’s just how vision works. You can’t hold a precise image in your head for the three seconds it takes to close the menu and look at the scene again, so you end up comparing the new frame to a fuzzy memory of the old one, and your brain quietly fills the gap with whatever it expected to see. That’s why settings arguments run forty replies deep with both sides completely sure they’re right.
There’s only one honest way around it: freeze both versions and put them in the same spot, so your eye slides between them with nothing to remember. Same frame, same camera angle, one setting changed. If the difference is real, it jumps out the moment you move between the two shots. If it doesn’t, you just found free frames.
How to actually test a setting
Most guides tell you a setting “has a moderate performance impact” and leave you there. Here’s the loop that actually settles it, and it takes about ten minutes.
Pick one stress scene and stand still. Not a blank corridor. Find the spot that makes your GPU sweat: a wide vista, dense foliage, a wet street full of reflections, a crowd. If a setting matters anywhere, it matters here.
Change one thing at a time. This is the part people skip. Move a single setting, leave everything else alone, and you actually know what caused the difference. Move three and you’ve learned nothing.
Screenshot each version from the exact same position. Don’t take a step between shots, because a slightly different camera angle wrecks the comparison. Rename the files the second you take them, too. “photomode_1.png” and “photomode_2.png” is not a system you’ll remember in five minutes.
Then load both into a before/after slider and drag the handle across the part you care about: the shadow edge, the far tree line, the reflection in the puddle. This is the step the big settings guides never include, and it’s the only one that gives you a straight answer. You can drop the two shots into imgi and get a draggable comparison on a link in a few seconds, no account needed, which also means you can send it to whoever you were arguing with.
One more thing while you test: watch the right number. Not the big average FPS, but the 1% lows, the worst frames, the ones you feel as a stutter. A setting that keeps your average but craters your 1% lows is making the game feel worse even though the headline number looks fine. Your GPU software’s overlay, or RivaTuner, shows both.
The cheap wins, turn them up
Some settings cost almost nothing and clearly improve the image. You don’t really need to compare these, just switch them on.
Anisotropic filtering keeps textures sharp when you look at them on an angle, like a road stretching to the horizon or a floor running away from you. Without it, surfaces go blurry a few metres out. It’s nearly free on any GPU made in the last decade, so put it on 16x and forget it exists.
Texture quality is the big one, with a catch. Textures mostly eat video memory rather than raw GPU power, so if you’ve got the VRAM to spare, ultra textures are basically free and they do more for how crisp a game looks than almost anything else. The catch is the cliff. Run out of VRAM and that same setting flips from free to a stuttering mess as the game shuffles textures in and out of memory. So push textures up, keep an eye on your VRAM usage, and if it’s slammed against the limit, drop one notch. Worth knowing: ray tracing also quietly eats a gig or two of VRAM, which is why a lot of 8GB cards fall apart the moment you turn it on.
Sharpening and gamma are just post-process knobs. No real cost, pure taste. Nudge them to what you like.
Where your frames actually go
If you’re hunting for performance, this is the short list of settings quietly eating it.
Ray tracing and path tracing are the biggest, most honest drain there is. They look spectacular and they can cut your frame rate in half. If you want to run them, turn on ray-traced reflections first, since that’s the best-looking part per frame you give up, and lean on upscaling to pay for the rest. If you’re weighing upscalers to claw those frames back, that’s a whole comparison of its own, and I’ve gone through it here. Path tracing is the far end of the scale; treat it as a screenshot mode unless you’ve got the card for it.
Shadows are sneakier than they look. “Shadow quality” usually bundles resolution, softness, and draw distance into one slider, so bumping it one notch is really three changes at once, which is why it’s often a dozen frames for a difference you’d only catch on a paused screenshot. Compare High against Ultra and most of the time you’ll happily sit on High.
Volumetric fog and lighting, the god rays and thick atmospheric haze, are pure GPU cost. Lovely mood, heavy price, and Medium usually gets you most of the way there.
Crowd and NPC density is the one that fools people. Turn it up and your average FPS barely moves, so it looks safe. Then you round a busy corner and the game hitches, because every extra character is more work for your CPU in exactly the moments it’s already busy. That’s a 1% low problem hiding behind a healthy average. Somewhere around half is usually the sweet spot: a world that still feels alive without the stutter.
Supersampling, where the game renders at a higher resolution and shrinks it down, gives the cleanest edges going and costs more than every other option put together. Skip it. There are much cheaper ways to smooth out jaggies.
The ones only your eyes can settle
Then there are the settings where the right answer comes down to taste and how well a particular game pulls it off. Nobody else’s recommendation is worth much here, which is exactly where comparing your own shots earns its keep.
Ambient occlusion adds soft shading where surfaces meet, in corners and creases and under objects. Sometimes it grounds a scene beautifully. Sometimes it smears a dark halo around everything and looks worse than off. The cost is modest, so this is purely a look-at-it-yourself call.
Anti-aliasing flavor is a real fork. TAA scrubs away shimmer and crawling edges but can soften the whole image toward vaseline; the sharper options hold detail but let edges sparkle in motion. Which one you can live with depends on the game and on how much the blur bugs you personally. Compare them, don’t take a forum’s word.
Motion blur costs a little and most people are happier with it off. I leave it off everywhere except the occasional racing game, where it actually adds a sense of speed. Still, it’s a taste thing, so have a look before you decide.
Depth of field is cheap or expensive depending on how it’s built, and cinematic or just annoying depending on your patience for a blurry background. Draw distance is the same story: pulling it in can free real frames, and the pop-in it adds is either invisible or maddening depending on how cleverly the game hides the swap. One glance at the horizon, before and after, tells you which.
Test your own game, not someone else’s
Every number in every settings guide, including the loose ones up there, came off someone else’s rig running someone else’s build of the game. Ray tracing that’s brutal in one engine runs fine in the next. Textures that are free on a 16GB card stutter on an 8GB one. The only settings that matter are the ones in front of you, in the scene you actually play.
So next time you’re about to drag that shadow slider back and forth for the fourth time, don’t. Take the two screenshots, put them side by side, and let your own eyes make the call. You’ll trust the answer more than any preset, and you’ll get back to playing.
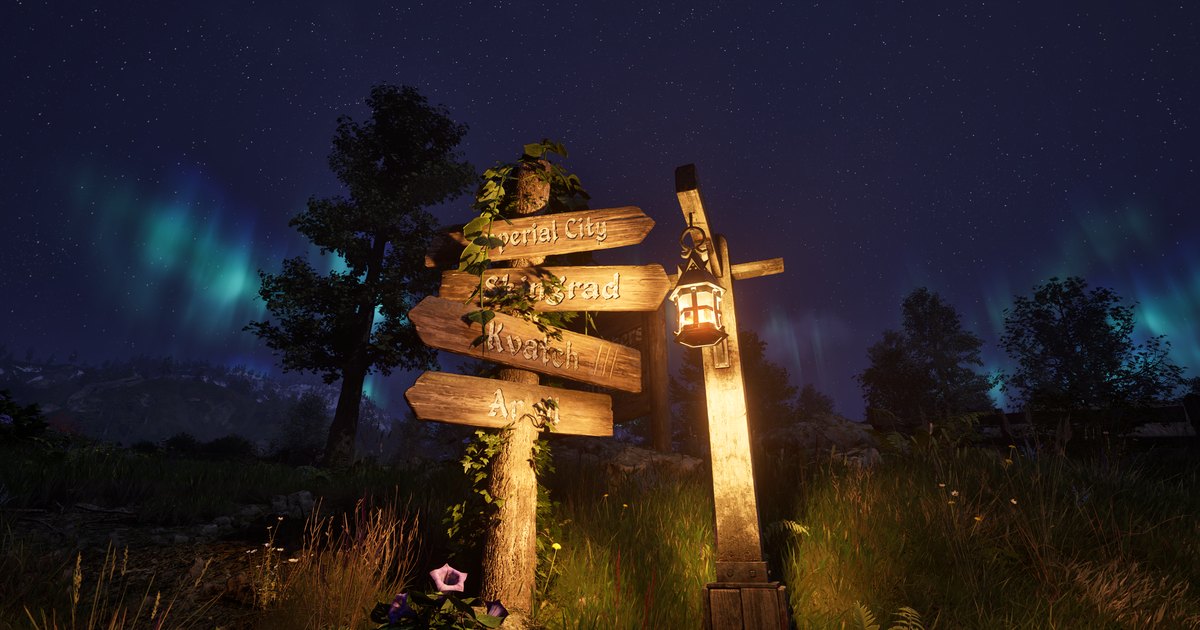
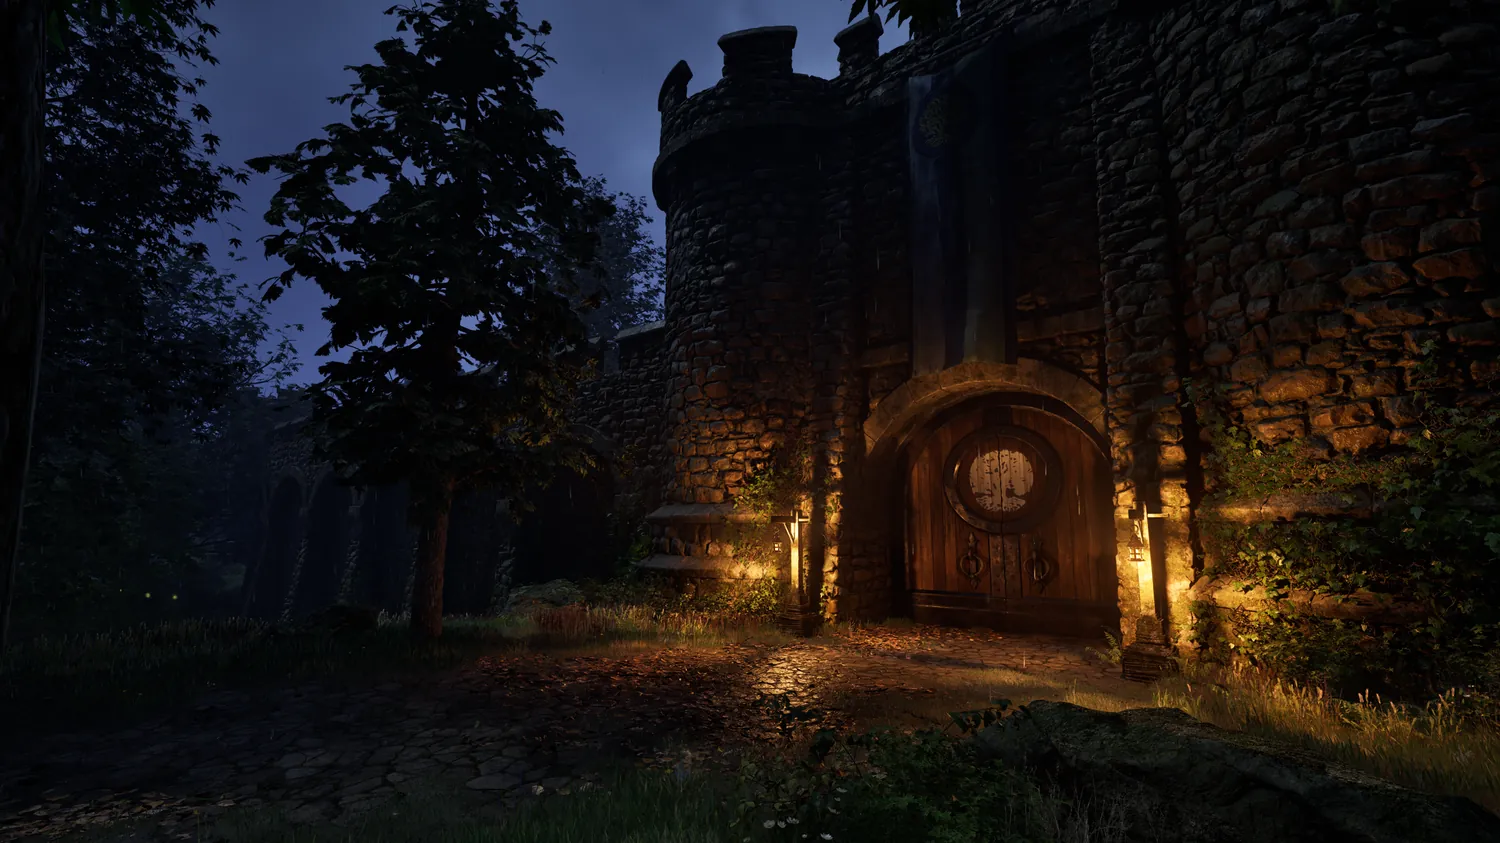
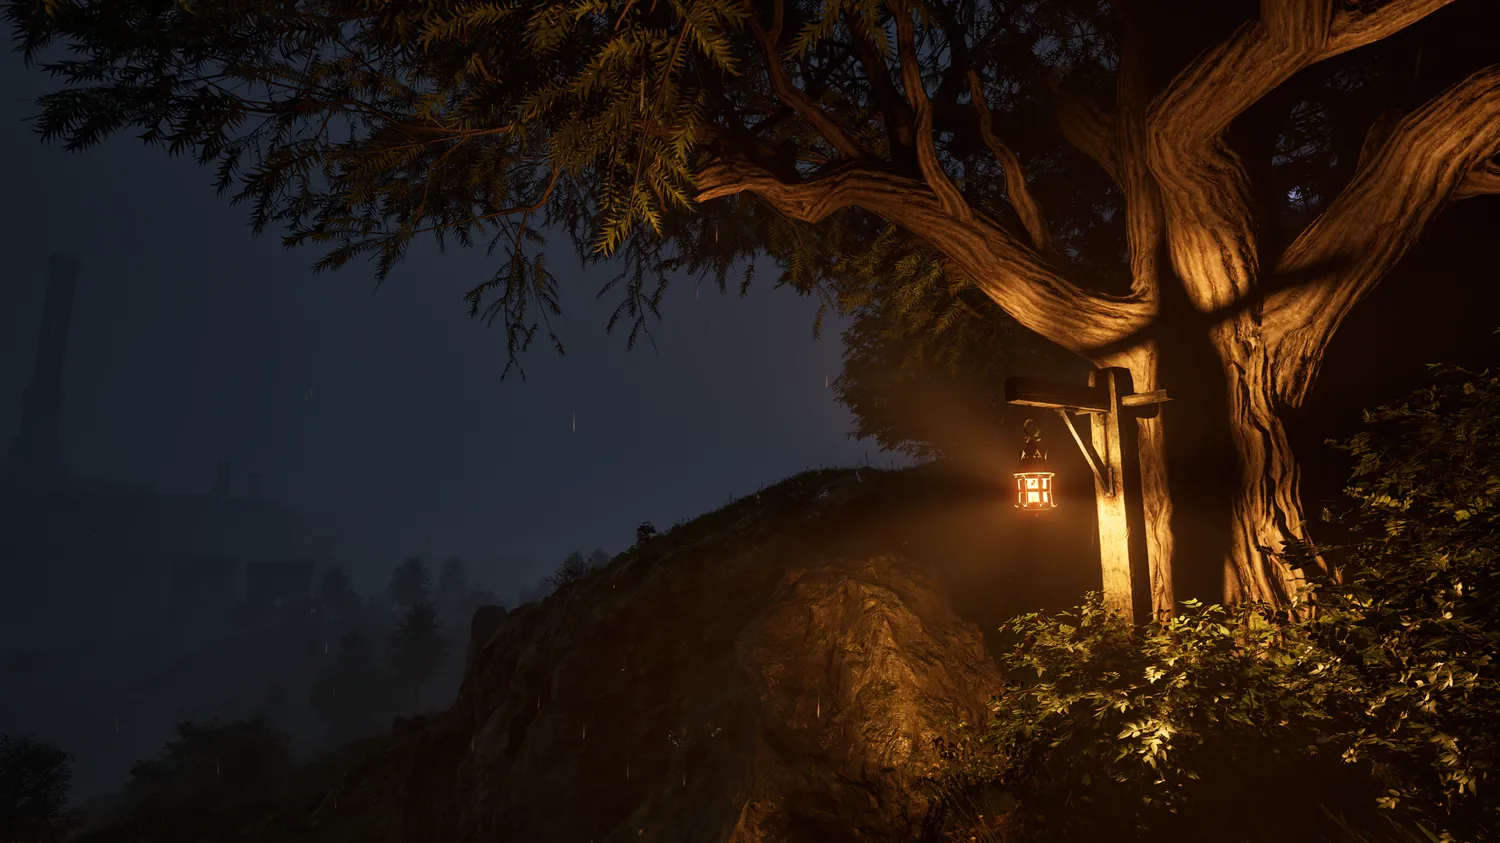
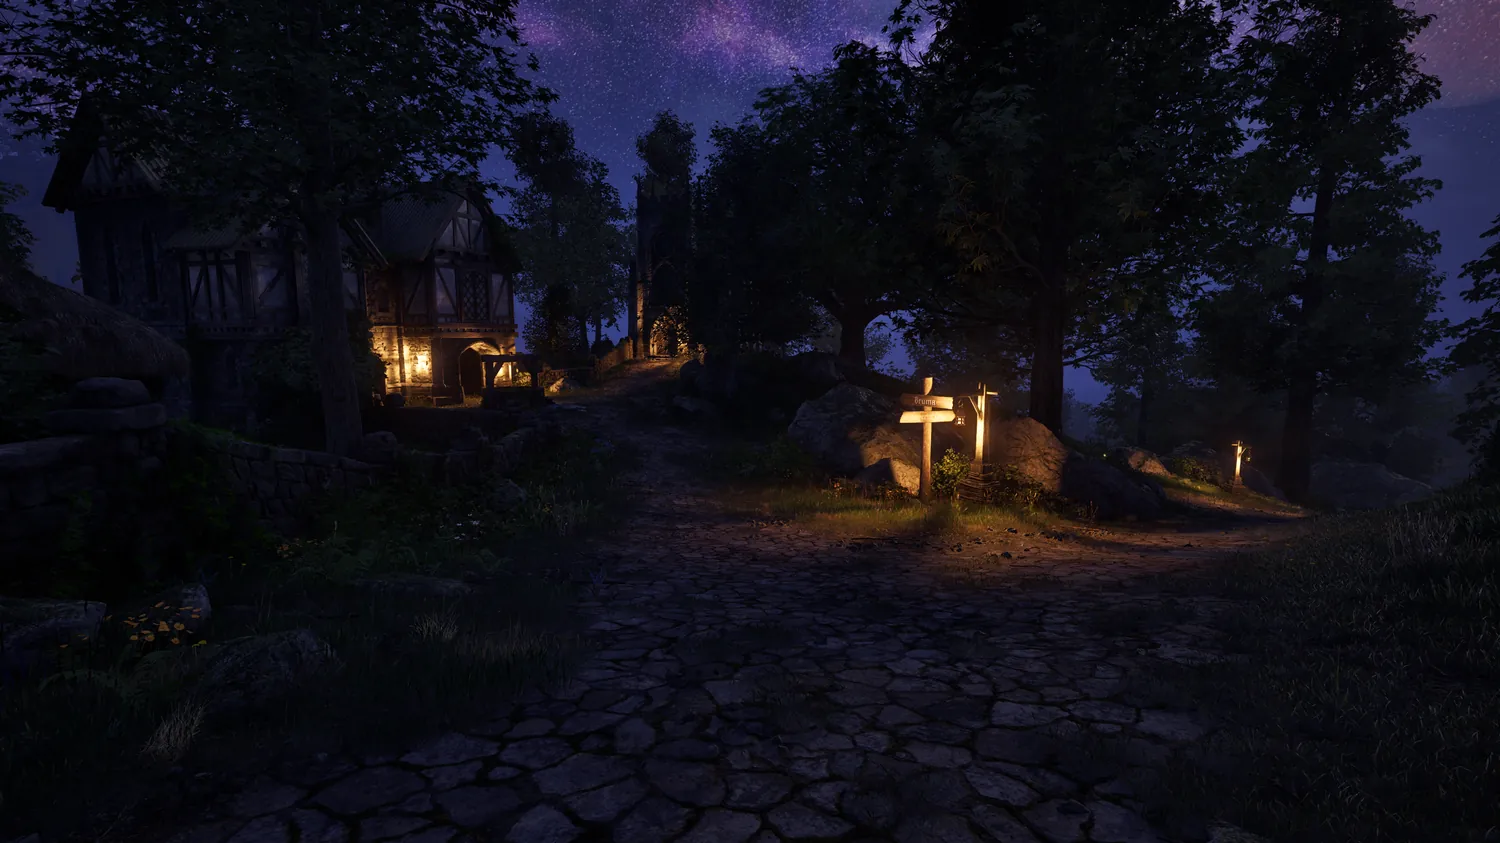
Screenshots throughout are from Lumiere, a lighting mod for Oblivion Remastered.