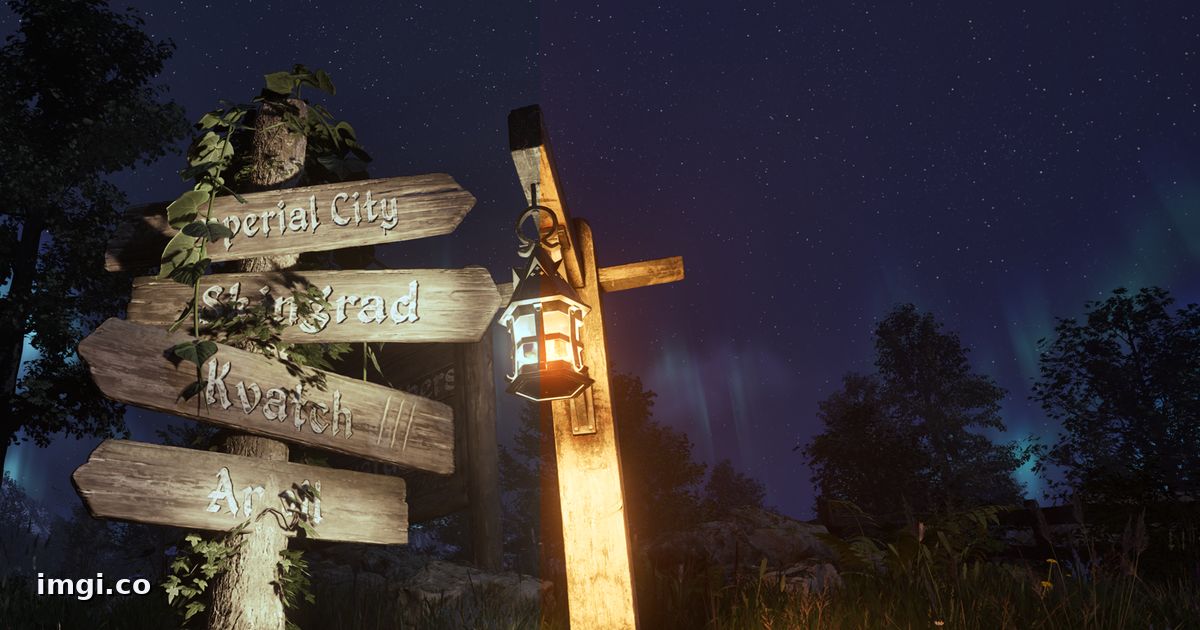
Oblivion Remastered gave modders a strange gift: a beloved world rebuilt on a modern renderer, with all the rough edges that implies. The mod scene that grew around it moves fast, and its mod pages have the usual problem. A gallery of pretty screenshots tells you the modder owns a nice GPU. It doesn’t tell you what the mod did.
The comparisons below skip the gallery format. Each one is a live slider with the base game on one side and the mod on the other, same scene, same frame. Drag the handle across the spot where the mod supposedly lives and decide with your own eyes. That’s the entire pitch of this format, and it suits the remaster unusually well, because so many of its best mods make changes that stills flatten out.
Shadows that behave like shadows
The remaster’s interiors can feel oddly bright for a game about dungeon crawling. Shadow rework mods go after exactly that, and the difference lives in the corners: watch the space under tables, the falloff around candle flames, the way stone stops glowing where no light reaches.
This one’s from Shadows Reworked by Tewix, a tavern interior. Sweep the divider across the staircase and hold it there. On the base side, the steps sit in a vague half-light. On the modded side, they actually recede into darkness, and the room reads as lit by its fireplace instead of by the renderer’s goodwill.
Water that remembers what’s standing next to it
Reflection accuracy is one of those upgrades nobody notices until they see it toggled. Base water gives you a serviceable shine. Accurate Reflections, also by Tewix, gives you the ruins, the trees, and the far shore, mirrored where they should be.
Drag slowly across the lake surface and look at what the water contains rather than the water itself. There’s a second scene from the same mod here if one lake doesn’t convince you. Fair warning that reflection quality is exactly the kind of feature that scales with settings, so what you get on your rig depends on where your sliders sit. The comparison shows the ceiling.
Grass, but more of it
Density mods are the easiest kind to undersell in prose. More grass. That’s the mod, and More Grass by Tewix is honest enough to just say so in the name. The slider makes the case better than a paragraph can:
The thing to check isn’t the meadow in the middle of the frame. It’s the transition zones, where grass meets road and rock, because that’s where sparse vegetation makes a world look like a game level. Density fills those seams. It also costs frames, and a still can’t show you that part, so treat the slider as half the evidence and your FPS counter as the other half.
The lighting frontier
Shadow and reflection work is really a subset of the bigger category, full lighting overhauls, and those are the hardest mods on this list to evaluate from anyone else’s screenshots. A lighting mod’s whole character changes between a moonlit exterior, a torch-lit cave, and a chapel at noon. One gorgeous night shot tells you the author found their mod’s best hour. What you want is the same overhaul across four or five different lighting situations, which is exactly what comparison albums are for: one link, several scenes, each with its own slider. If a lighting mod’s page only shows you dusk, ask why.
Night scenes deserve one extra check. Drag the divider across the darkest corner of the frame and watch whether detail survives on the modded side or drowns. Crushed blacks look moody in a screenshot. In play they just mean you can’t see.
Before you install anything above
Three remaster-specific habits save reloads. First, check the mod page’s notes against your game version; the remaster has been patched at a pace that occasionally shakes visual mods loose, and authors usually pin what they tested against. Second, watch your VRAM headroom with any texture-heavy mod, since the remaster is already hungry on its own and the cost math transfers directly. Third, shoot your own vanilla reference screenshots of two or three favorite spots before you start stacking mods. Future you, three months and forty mods deep, will want a before that is not a memory.
Why sliders fit this game’s mods specifically
A lot of Oblivion Remastered modding right now is calibration work: shadows, reflections, foliage, lighting tweaks that shift the whole image a few degrees rather than replacing a sword model. Side-by-side screenshots are the worst possible format for that kind of change. Your eye has to hold the first image in memory while it scans the second, and memory quietly normalizes both toward each other. Stack the two frames in the same pixels and the difference stops being a memory test.
I keep a folder of pairs like these from my own load order experiments, and half of them ended with me uninstalling something I’d been sure was working. That’s the other use of the format nobody advertises: proving to yourself a mod does anything at all before it earns a permanent slot.
Make one for your own mod page
If you mod the remaster, or you’re writing up your load order for a forum thread, the recipe is short. Two matched screenshots, mod on and mod off, same camera and weather; the capture guide covers the discipline, and the texture comparison guide adds the close-mid-far routine if your mod touches surfaces. Upload the pair at imgi.co, label the sides, publish. You get a permanent link for the mod description and a GIF export for the places that only take images.
Nexus descriptions won’t run a live iframe, so the working pattern is a GIF inline plus the slider link right under it. The people who drag it stay longer than the people who scroll a gallery, and the comment section asks better questions when it can check the evidence itself.
The comparisons above are built from Tewix’s own capture pairs for Shadows Reworked, Accurate Reflections, and More Grass.